I am Currently Working on a Puff quilts for the kids. They take a lot of time, but they will last a long time. My kids both have full size beds so this is quite the undertaking (393 blocks per quilt).

Should you decide to do these you will need to find out the finished dimensions of the spread (example: full size is 86"x86"). You will then choose what size blocks you want 5x5, 6x6, 7x7 etc. of if you are really good at patterns you can mix it up. This is my first one so I am keeping it simple. I chose to make 5"x5" blocks. At this point you should decide on a pattern. You will take the length and width and divide your block size into it. So 86"divided by 5" equals 17 and a little extra. I added extra to the length because the current bed spread on my daughters bed seemed slightly small. A full size quilt cost me about 60$ in materials to make.
My quilt is 17 blocks by 19 blocks

To make the blocks you will need your top color, and a liner color. If you buy broadcloth for the liner you can save a lot of money. The top color will be cut 1" larger then the liner color and the liner color determines the block size. once you cut out all the blocks and liners you begin to sew
As you sew you will put one pleat in the center of each side. Only sew 3 sides completely and partial on the fourth leaving a hole for the stuffing. Sew all the blocks this way.

You will then begin stuffing each block with fiberfil. Do not over stuff the blocks it makes it hard to sew together and the quilt is very heavy when complete. I bought this huge box on sale at Hancocks for $9.99. I will have plenty for both quilts and still have some left over. You only need a pinch for each puff. Sew all the blocks closed. You will give your self a headache if you skip this step. It saves no time in the long run.
When you finish this lay out your pattern and pin rows together. This step helps when you have animals that like what your doing and lay on your perfect pattern only to mess it up. Yes I layed out this pattern several times only to walk away and have my precious little puppy use it as his pillow.
If you have no pattern just skip this step and sew the rows the way you want.
Stitch the pinned rows together.

Here are all the rows sewn and layed out in order
purchased a full sheet for the backing and matching cotton fabric for the trim my trim is 4 in wide so you will need 8.25 wide strips as you will fold them in half. You could also use a typical quilt binding as well.
Thanks for checking it out.
This quilt would not be a great idea for the southern USA, the amount of time you put into it does not weigh out with the weather you would be able to use it in.


 Princess Poppy 2

 Rose Doodles
 Princess Crown Bling I am making inspired by Mandy Moody
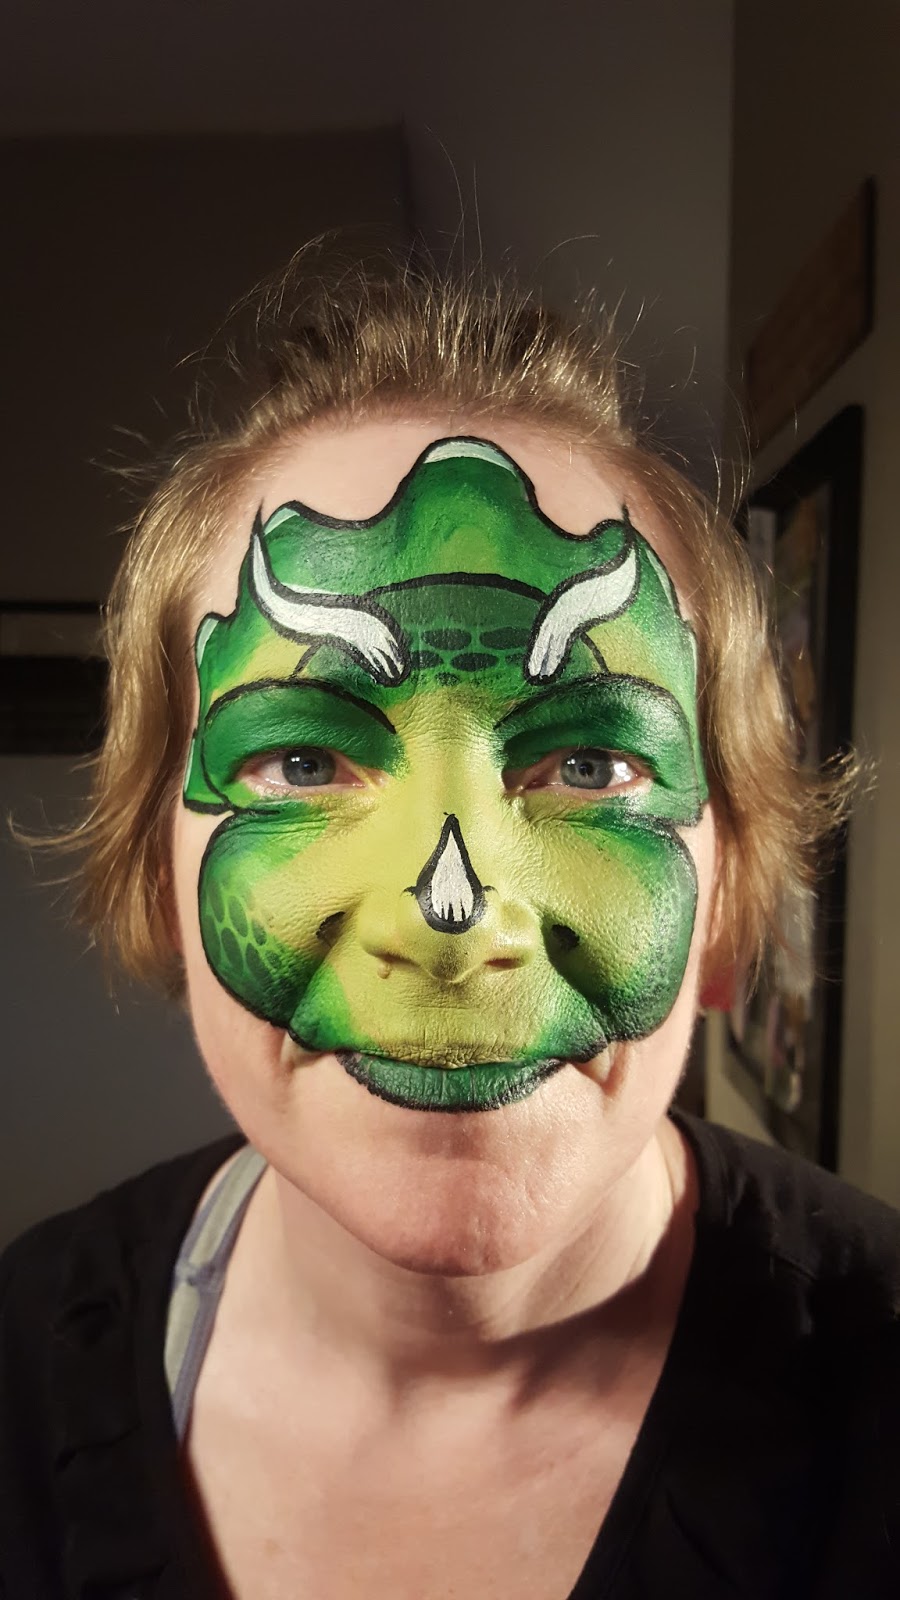 Ashleah henson design in my homemade cake colors.
 working on chibi's